Insects. I know, ewww, right?
But did you know that clothes moths (and other fabric munchers) serve a useful purpose? In their natural (outdoor) setting, they are scavengers, breaking down feathers, fur, skin, and other cast-off organic ingredients that then become part of the soil. That’s right, the little varmints don’t specifically want to eat your best cashmere sweater, but if stuck inside, they will make do with it.
OK, enough of the niceties, let's get down to business.
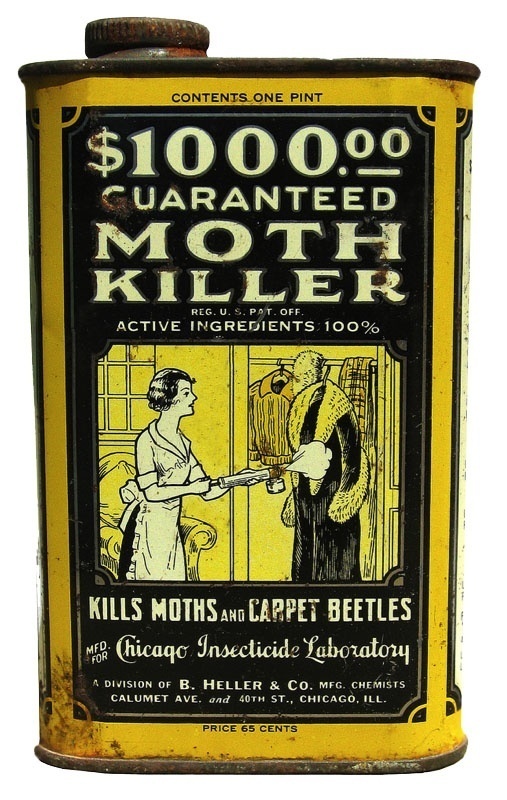
Scary stuff! Image found here.
Many of our foremothers' vintage ways are well worth reviving, but one that is not is the use of dangerous pesticides to kill fabric-eating pests. You can really sense how desperate one can get from the packaging of the products used!
A little bit about the major fabric-eating insects:
1. Carpet beetles are very small (1/8"- 3/16") flying insects. There are a number of species of carpet beetles, each with different but similar markings. The adult carpet beetle is not harmful to fabric, but its larvae will eat fur, hair, feathers, silk, wool, mohair, cashmere, or any other hair fiber. This is the only insect I have experience trying to control. I found that the adults love light and white surfaces and can be spotted on windowsills and light fixtures. The dark-preferring larvae are like tiny (1/4" long) caterpillars. They are hairy and yellowish to gold to black-brown depending upon the species. The larvae of course do not fly, but hatch from eggs and get to work on eating your clothing.
2. Clothes moths are of two types: Webbing clothes moths, which are the most common in the U.S., and case-bearing clothes moths. Both species produce very short-lived adults, the webbing type is gold/buff in color and has a wing span of about 1/2"; the case-bearing is even smaller. They are at home in dark places and perfectly content to live in your closet. Again, it's the larvae that do the damage, and these love to eat the same things as the carpet beetle: Woolens, hair, fur, hair fibers, silk, and feathers. The up to 1/2" long tiny worm-like larvae of the webbing moth is distinct from the case-bearing moth's larvae, which forms a silken mantle which can be white, or colored with the tints of what it is eating, making them harder to see. Soiling of your stored clothing is what attracts the moth; vitamin B from sources such as sweat and body oil serves as food for the earliest stage of the larvae, without which it can't survive.
3. Silverfish and firebrats are nocturnal, wingless insects that thrive in moist, warm environments. Silverfish like temperatures in the 70s and 80s, while the firebrat likes 90º+ degrees, such as you might find in an attic. The 1/4"- to 1/2"-long adults eat a wide-ranging menu—especially orienting to anything with protein, sugar, and starch—including book bindings and paper, wall paper (for the paste), carpet, clothing, coffee, hair, some paints, photos, plaster, glue, and sugar. They will eat any starched fabric such as cotton and linen, along with wool, rayon, silk, fur, feathers, and even leather.
How scary can you get? Image found here.
With the thought of your vintage cashmere coat's nap being mowed down by one of these pests, and the prospect of sprinkling poisons around to kill the pests, I think we can agree that an ounce of prevention is worth a ton of cure.
I am very fortunate to live in a dry environment with hard freezes during the winters. Insect infestations are not the problem that they can be elsewhere. For those not so lucky, it may be necessary to always thoroughly clean or freeze or heat vintage finds. Launder any new-to-you sturdy, washable vintage item, or have it dry cleaned if that is what is best for the item.
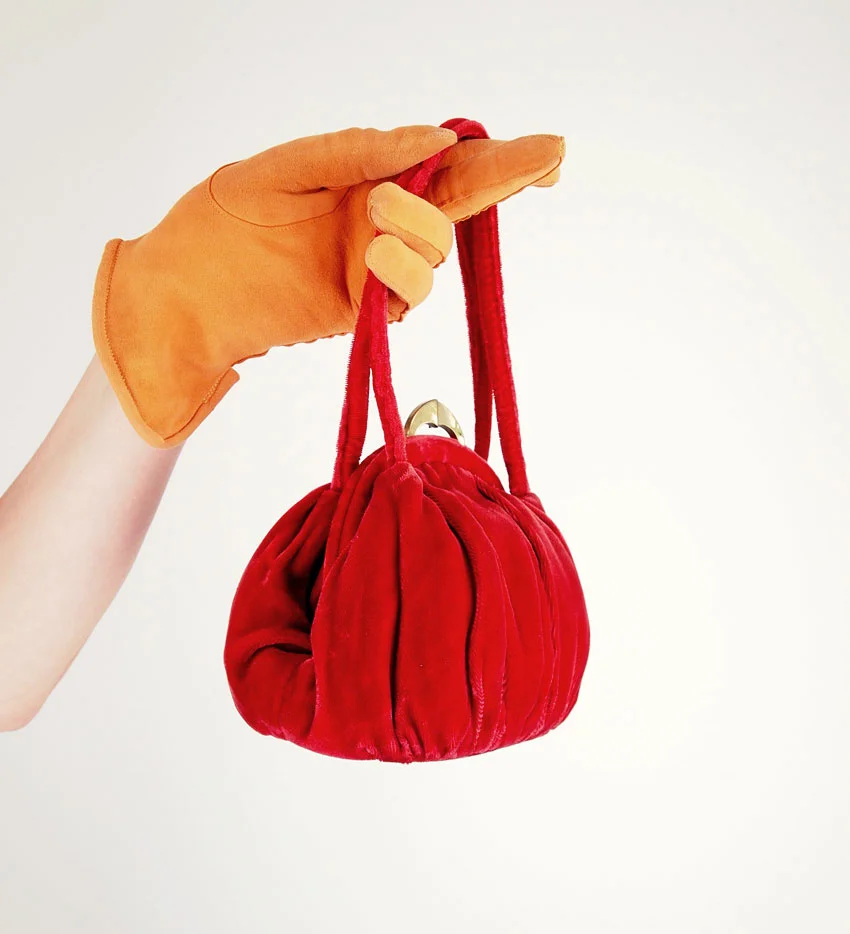
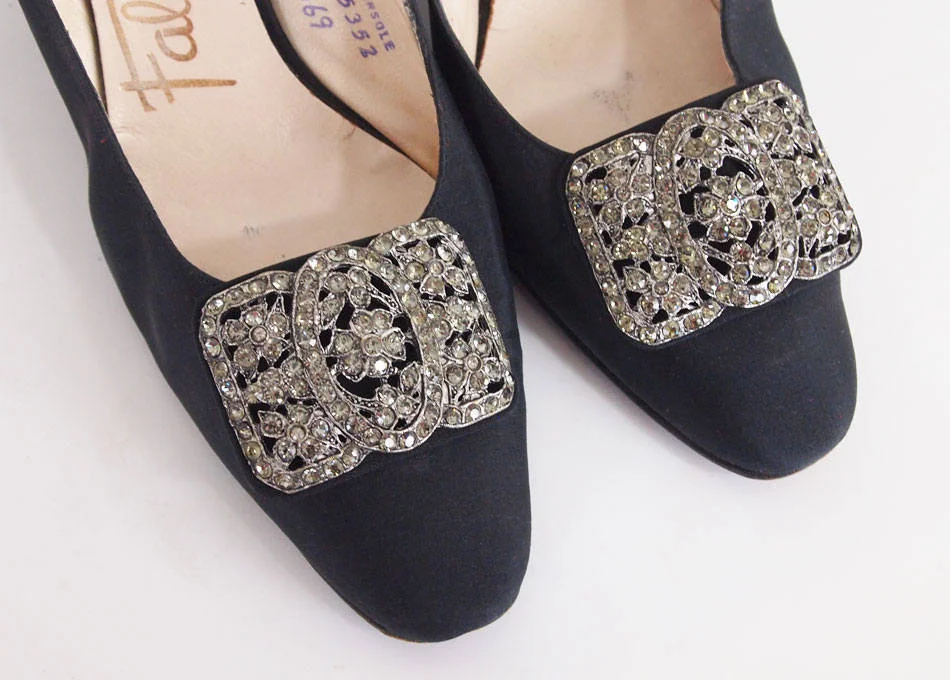
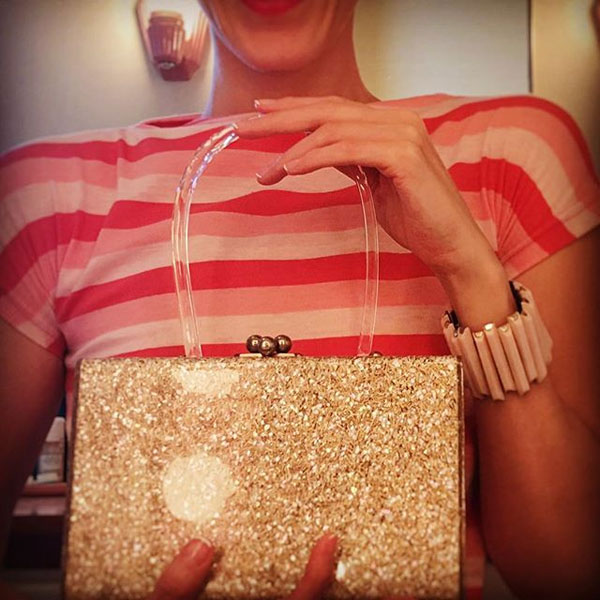
Keep your home and especially your clothing storage area clean and dry. Vacuum the nooks and crannies. Fabric-eating insects are attracted by animal hair, sweat, body oils, and food. Don't store clothes that need cleaning because those are invitations to pests. Avoid using starch on your clothing, which also attracts insects. Keep a vigilant eye on your stored items to make sure no new infestation has started. Don't forget your handbags and shoes can attract these critters as well, and should be kept as clean as possible. Some insects (crickets, cockroaches, termites) are attracted to food and other stains on your clothing, and although they don't eat the fabric, they can cut through it while eating their meal. There are so many excellent reason to keep your clothes clean—this just might be the most compelling!
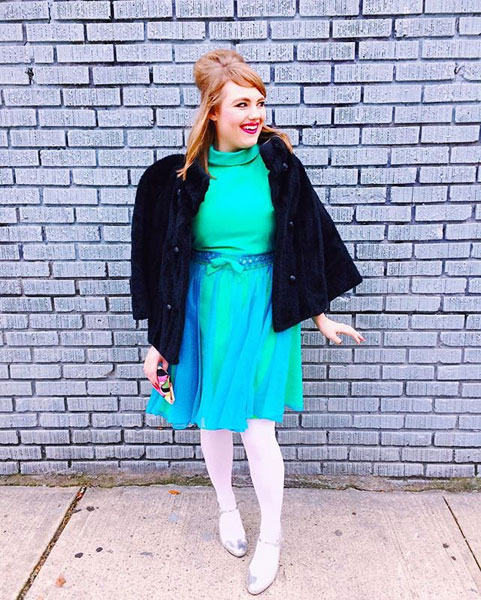
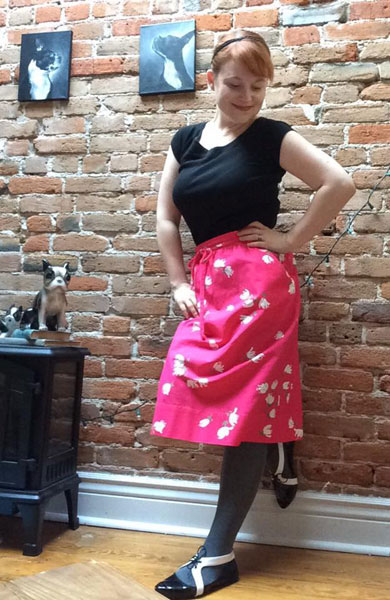
Use is a perfect deterrent for insect pests. As long as you keep wearing your clothing it is not going to be possible for an infestation to take hold. Of course, you can't wear that mohair sweater in the middle of summer—most of us have to find a safe way to store our clothes.
Dry cleaning kills pests and removes stains that attract them. Washing to remove stains on a garment will make the clothing uninteresting to pests. Keeping your vintage finery clean is your first line of defense.
Freezing is used to kill insect pests, but it will only work if your home freezer goes down to -20ºF (and you have space in it!). Freezing under these very cold conditions will work well to kill adults, larvae, and eggs of insects. To freeze an item, seal it in a plastic bag and give it three days in your freezer. When you take it out, be careful; in a frozen state the item will be more brittle. Let your item rest in its bag for another 24 hours, allowing it to acclimate again to room temperature. Allow any condensation to evaporate before you store your garment again. If you get your timing right, and if you live where the temperature dips low enough, you might be able to put a batch of clothing outside during a deep freeze.
I have read about lavender being an insect deterrent. Apparently, as lovely as its scent is to us, it may discourage adult fabric-eating insects. I'd say go ahead and use it so your closet and drawers smell good, but don't expect it to kill anything, or stop the larvae from feeding on your items.
According to MuseumPests.net, cedar does not work as an insect repellant. Although cedar oil can kill the earliest stage of clothes moth larvae, it does not kill the eggs, the adult moths, or other pests. If your great aunt had good experiences with keeping her sweaters in a cedar chest, it might just have been the sealed-off conditions that helped the most. Storage is best achieved in a plastic bin with a tightly fitting lid. Your clean clothing should be wrapped in plain cotton to help absorb moisture in the bin. As I wrote before in the post about storage, plastic is not good for fabric over the long haul, but storage for several months is fine, like the several months during which you wouldn't use your sweaters over the summer.
Heat may also be used to kill insects in all life stages. Using an oven's warm setting, which is usually 140ºF (do not use higher heat), place your clothing item on a clean, oven-proof tray or sheet pan on a rack with a pan of water on a lower rack. After three hours of "cooking," turn the oven off, removing the item when it has cooled down. Carefully controlled heat is even being used by exterminators for safely killing pest infestations in entire hotels. It truly does work.
There are readily available non-toxic pheromone traps that attract adult males of specific insect species. These work to help you identify the critter involved in an infestation, and eventually break the cycle of damage, but they do not help isolate the larvae that do the damage in the first place. If you are really stuck with a terrible infestation after doing all you can to keep your vintage safe, I would recommend hiring a professional exterminator.

Really, really scary. Image found here.
One last thing. I have come to appreciate the help of spiders (as long as there aren't TOO many) in my house. They eat these pesky fabric-munching insects with relish, and probably are much more capable of finding some of the hiding places in your floorboards and carpets than you are.
OK, one LAST last thing: If there was such a vote, I'd be chosen Least Likely to Vacuum Every Nook and Cranny. I'm not incredibly fastidious, but I'm very fortunate to live where insects just aren't the problem that they are in other regions. The one time I found my absolute favorite cashmere sweater riddled with holes, I learned just how much others suffer with insect damage. I had to run and look up everything about controlling carpet beetles. It's not a pleasant subject, but it is one about which to have some knowledge if you want to protect the clothing that you not only invested in, but love.
This is the most recent in the series on vintage care I'm writing in preparation for publishing a book. Your comments on these posts really help me in getting my act together!
Next time: Care of Vintage Accessories
If you’d like to see all my vintage care tips in one place, you might like my book Wear Vintage Now! Choose It, Care for It, Style It Your Way, available now!